The Cosmosphere in Hutchinson, KS is a top notch air and space museum. Worth a visit, if you've never been.


This is my blog for my scale model building, and sculpting. Other hobby posts could include my fossil collecting, my herps or arachnids. I hope you find it interesting enuff to read. Enjoy.
The Cosmosphere in Hutchinson, KS is a top notch air and space museum. Worth a visit, if you've never been.
This was so long ago I don't know when it was. Just remember it was at one of the hotel's by Giants Stadium, NJ. I had to park them somewhere to use in forums.;)
Col. Aleixi Leonov

 |
| Dick Gordon, me, Al Bean Apollo 12 |
 |
| Bean and Gordon |
Wow have times changed. I don't remember what I did as a kid, but knowing what I know now about correct assembly, making seam lines vanish, smooth painting etc... this kit drove me crazy, and it fought me all the second half of the build.
The biggest problem was that there are a lot of labels as decals, and oddly only every 4th or 5th decal didn't disintegrate, but broke into a few chunks. Some I was able to slide into place, others I just couldn't. The worst was the one where it said Meteorite something or other. That one disintegrated, and as can be seen was only left with "Met." Each label only had one copy, so that was that. But luck enough the whole core assembly goes inside the sphere, and can barely be seen.

Then there was my superglue. I super glued the core to the bottom of the clear dome, and the core did everything but stick. It left me with a couple of glue marks on the clear part - no fogging so that's a plus. The worst of my decals was the large title "Project Vanguard." The "P" broke apart as did the "G" in Vanguard. Bad enough that I had to get paint to fill in the letters. It was enough to take the wind out of my sails. While I had other things I wanted to do, including adding Faux wiring to the core, I just put the top cover on and called it a day.
Here are two shots of the finished satellite. Thanks for looking


This kit brings me WAY back in time. The original was the first model kit I ever got. I was probably 7 or 8 at the time, and talked my Mom into getting it for me at a little Mom & Pop store - DeVita's Dept. Store.
The model is a re-pop from Round 2, and is in a copy of the original Hawk box. There was a sticker on the plastic I saved saying "Available for the first time since 1966."Knowing what the real Vanguard looked like, I wondered why the kit was done this way. It only too me 50+ years to read the box where it says
" The model represents the first of these larger (20 in. diameter)operational Vanguard satellites that was launched on April 28, 1958. However it failed to achieve orbit..."So what we know of the successful satellite was the "minimal 6.3" satellite. And by doing the math the scale of this model is 1:3 scale.

I started the assembly with the central core, and then not sure of the opening size, I started painting the different parts up separately.

I was trying to put this part off as the center curved section was very flimsy, but had to go for it./ I had to add my own tabs from little bits of styrene ti firm up the joint. Some can be seen inside.

While the glued sections were setting up I started painting the little experiment stripes on the center core.

With the seam glued up, I sanded and sanded to get the smoothest transition I could. I was about 75% successful, so I taped a little border and then added Tamiya putty to get rid of the seam line.
On the bottom you can see I added the clear dome, and glued that in place. I taped over the clear plastic, so I don't scratch it up. It's sitting on its provided base.
In the back I added a few more colors to the core. All I need there are two stripes of yellow. But that's for next time. Thanks for looking.

This is definitely in the "And now for something completely different" file comes the Australian Scale Solutions model kit of the Mars Rover airbags. Scale Solutions was very prolific with their kits in the early 2000s, but *IIRC* the Australian Post Office raised international mailing rates a lot. He complained that it would ruin his shop, and it didn't take long for him to stop posting his kits on sci-fi boards.
This is a simple 1:40th scale kit in 4 parts of VERY hard tan resin.

Around each set of airbags is this definite seam that needed to be ground away.

The kit even comes with a few rubber bands which is called for in the instructions. This kit has to be 10+ years old and I was surprised the bands weren't deteriorated.

Once super-glued and epoxied together together - including an aluminum tube for the stand - I glued the 4th side on. The fit was loose and all the seams needed some Aves to fill the gaps.

All images showed this white tan airbags. Some images showed a gray strapping around the bags. I mixed up some white tan paint and then some light gray for the straps. They looked too dark. After adding some "Mars dirt" to the bags from bouncing, I gave it a mist coat of the white tan. That seemed to even everything out. I added a small Mars base and I was done. Thanks for looking.




 |
| I also noticed 2 framework pieces that needed to be added |


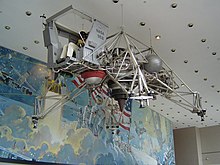


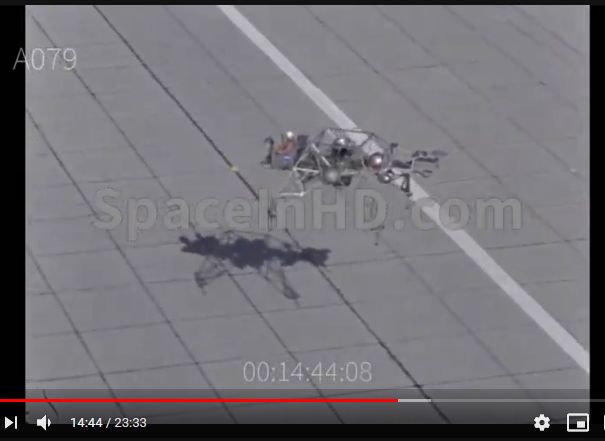
The LLRV could take off and land under its own power, reaching an altitude of about 1,220 meters, hover, and fly horizontally. A fan turbojet engine provided a constant upward push of five-sixths the weight of the vehicle to simulate the one-sixth gravity of the lunar surface.This LLRV is a 1:72 model from 3 Stooges Productions. The kit comes with a fret of photo etch, and a bag of about 10 resin pieces, and detailed instructions. It was sold through Tag Team Hobbies, and went through 2 editions, before I heard it went Out of Production. I guess the kit can be found on eBay, if you keep a look out.


