Not hearing any opinion on whether the wrinkled decals would work out, I decided to just go with them. It seems that upon closer look, only the larger decals were affected. Most of them finally settled down with multiple coats of Micro Sol. In the end most turned out looking ok. Here are a few images:
I am going to give a few coats of Future and since it never was put into production, there should be no weathering. All thats left is installing the rear landing skids, and I'm calling this one done.
I got a little more done, but also ran into a snag.
First the good news. I took the Dremel to the cockpit area and was successful in getting the windows cut out. I was going to go all the way thru but decided against it at the last minute -
Next, I primed in the Stynylrez black primer and then highlighted the panels in the white primer. It's sort of the opposite of preshading the panel lines -
And finally used V's Black Gray over the craft. Reading the instructions (Huh?) I saw that the nose was white, so white it is. I also hit the landing gear wells white too (not pictured). The below image also shows the plane with a good layer of Future on it -
I still have to paint part of the bottom a Titanium color.
The bad news is that I didn't use Future to coat the decals. I used Krylon Gloss, and they wrinkled. Bad. Looking at them this morning they aren't as bad, and since they're sealed I was going to go ahead and try them, and snug them down with Micro Sol. What do you all think?
Thanks for looking.
Moving right along, I did an eenie, meenie to pick the next kit out of my stash. The winner was Fantastic Plastic's x-15D. From their site:
The X-15 rocket-powered spaceplane was
arguably the most important -- and famous -- X-plane of the Cold
War Era. Prior to the X-15 program's abrupt cancellation in
1968, the Air Force was drafting ambitious plans for the aircraft,
including a "next generation" X-15-D that would test the limits of
hypersonic flight (Mach 5+) using an exotic new hydrogen-fueled
scramjet engine.
Unfortunately, the X-15-D never made it past the drawing
board. Had the program been allowed to continue, the X-15-D
would have no doubt added further luster to the X-15's sterling
legacy.
Fantastic Plastic retired the kit in 2015, but you never know. They will bring kits out of retirement for a limited time, often. So if you want one keep your eyes open and on their site.
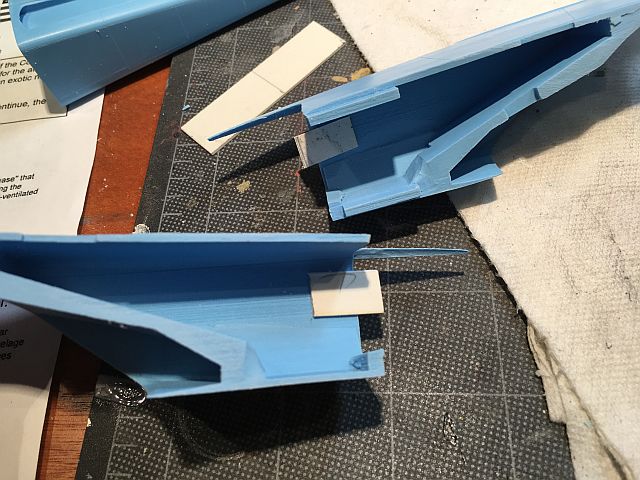
The kit is 1/72 scale and comes in 20+ pieces of odorless blue resin. It also comes with a pretty extensive decal sheet. The kit was very clean and I just had to remove a few leftover pour plugs. No big deal. I was a little confused at first at how the fuselage went together. I've been building these experimental 1/72 planes and they are very small. So in my head this too, was small; not the case. Once I figured that the sections go end to end (and not side to side) the building went rapidly. They had a few tabs molded in to guide the parts together and give a gluing surface. I added a few more out of strip styrene and had the main parts together in no time.
The cannards and the folded part of the wings went on next. I filled a few gaps, as I went so hopefully when I prime, I won't have much clean up to do.
Next I built the landing gear and rear skids. The front strut cleaned up nicely and then I added the two wheels. The back skids were one piece each and was a little rougher. Then on the instructions I read that if the post of the skids were made from metal tubing, it would be stronger. So that's what I did. While I was at it, I took some more styrene and created new skids. The posts were clipped metal paper clips. You can see those new parts to the left of the plane -
The next thing I'm thinking about is the windows. The kit gives decals to cover the ovals that are the windows. They look nice, but I am considering dremelling out the ovals and when finished add the Kristal Klear to make the windows more glass like.
Another angle. More coming up, thanks for looking.