Showing posts with label SSM. Show all posts

Sunday, July 9, 2017

Worm Hole Exploration Module

This is a 1/72 scale kit from Black Sun Models (BSM). From the entry - 
1/72 replica of the IASA module that got sucked in to a wormhole, propelling Astronaut John Crichton into a distant part of the universe. Features complete interior, optional hedge drive parts, clear vacuformed canopy and ALPS-printed waterslide decals by JBOT. May be built with gear up or down.
As you may or may not know from the name John Crichton is one of the characters from the TV show Farscape.
The model is in about 16 parts and the resin is bubble free, and a few seam lines are easily cleaned off. 
(from Starship Modeler Store)
  The first thing after it's wash, was to prime in white and start adding the cockpit components - 

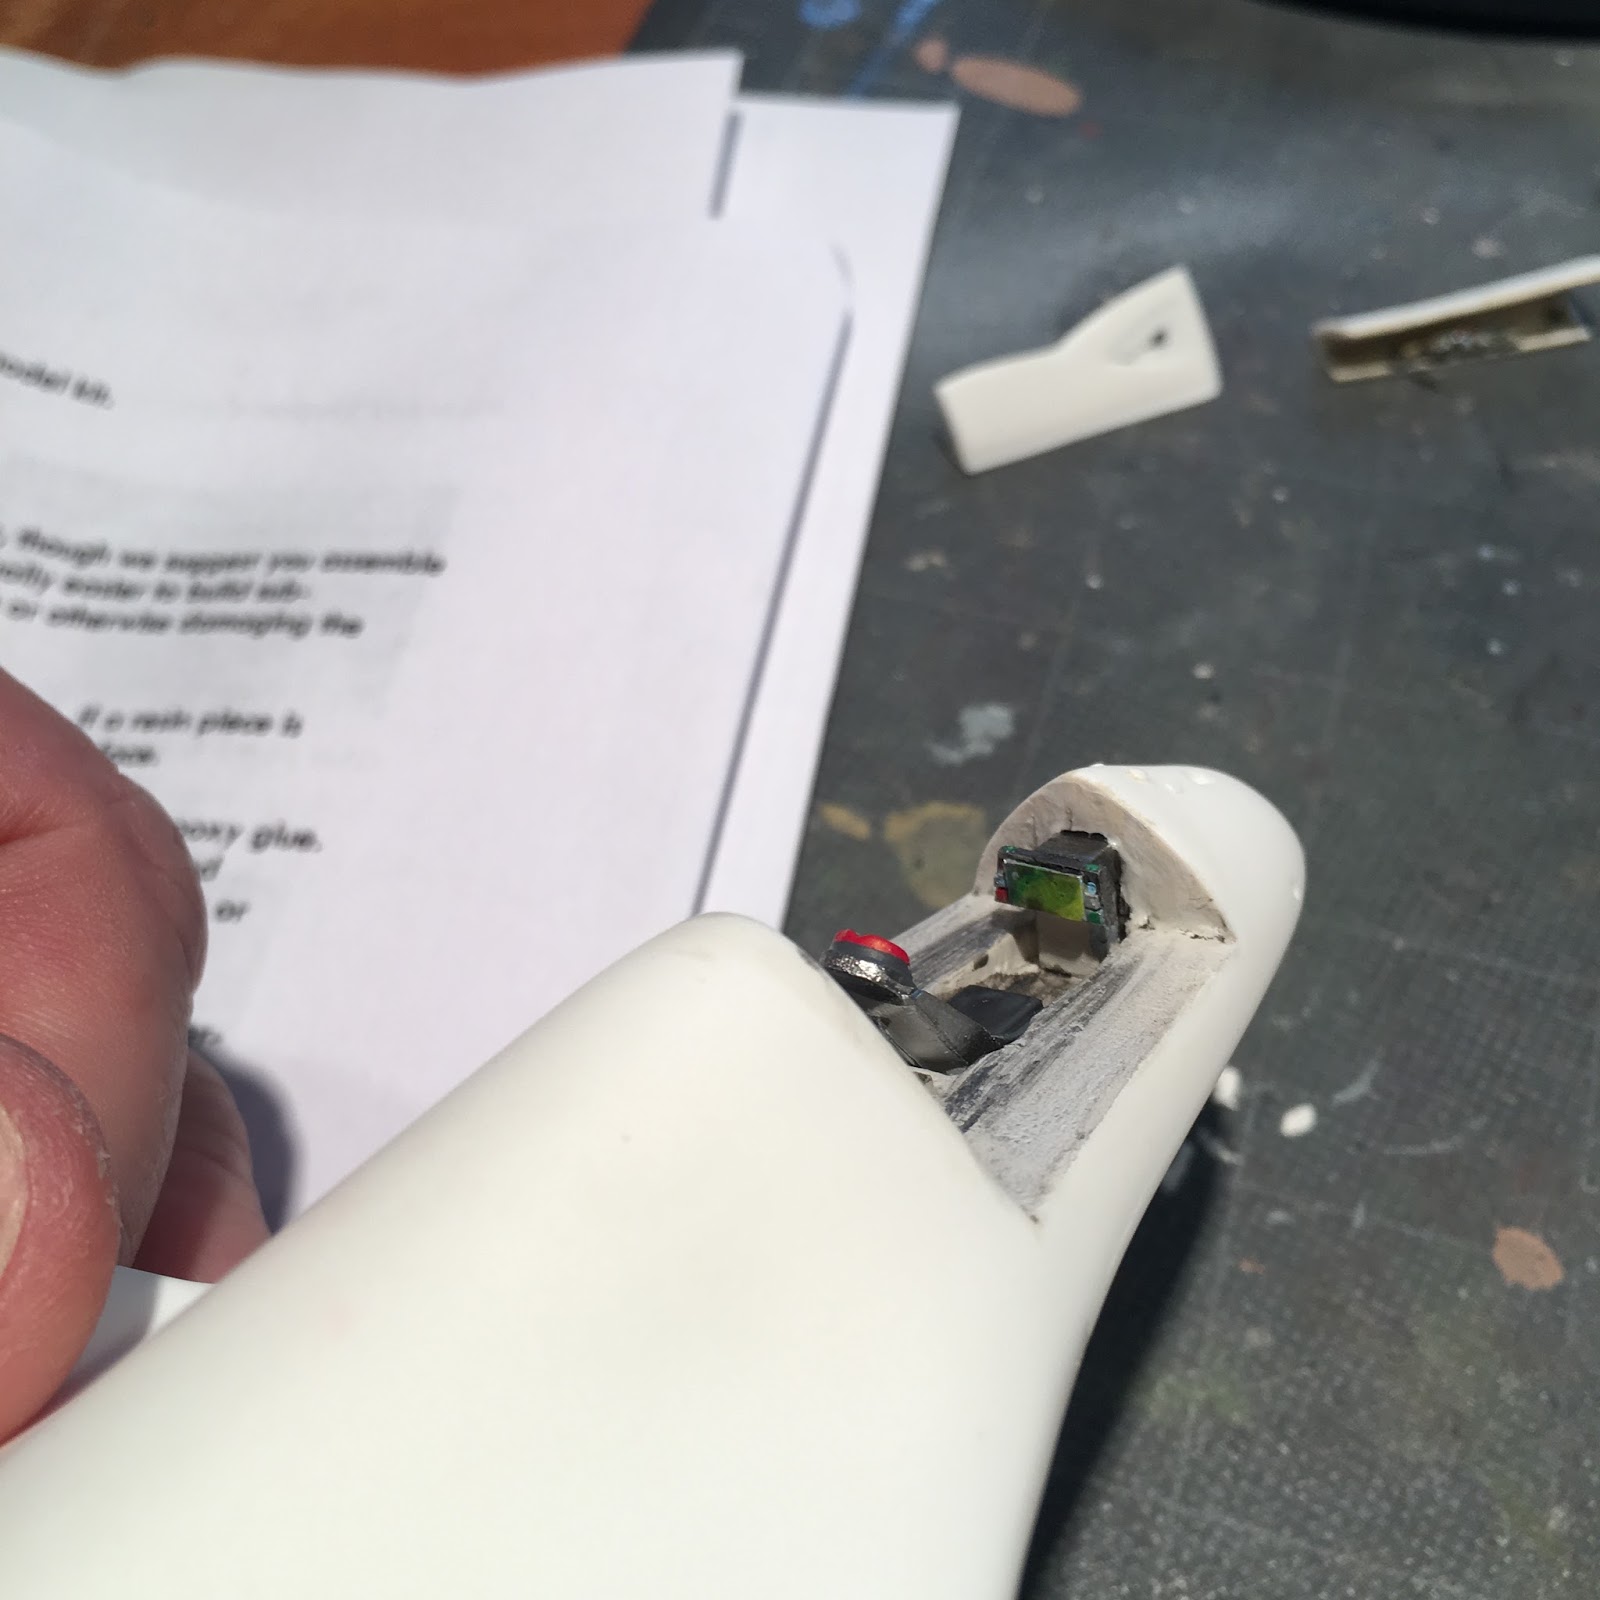
There are two side panels that are very well detailed. To "busy" it up, I painted in a lot of buttons - 
There are also side windows according to the box art. I saw, after the fact, that there was black decals for these windows. But I didn't know about them til later, and began cutting out the windows - 
The box art
 
 The cutouts will let the observer have a better look at the side panels. Now's the time to install the side panels, and the optional hedge drive engines, and begin painting. It was stated the the hedge drive engines didn't appear until later in the series. Not a huge fan of the show, I just decided to install them.

The top was to be an off white and the bottom a dark gray color - easy enough except that I forgot about the "off" part and painted it Gloss White. 

Then the problems started.  BSM gives you not one or two vac form canopies, but 4 of them. They were Futured, and when cut out, none of them fit. Being all the same, they were all too small. Even when I installed a 2mm piece of styrene (which also meant I needed to do more filling and repaint) it was still a bit too small. 
Installing the landing gear, I realized that I was given two starboard land gear!  With the frustration fairly high at this point I just installed the wrong gear essentially backwards. The next cheap-o plane model I can get my hands on, I'll cannibalize the gear for this model. 
 
Not the kit's fault but I had planned on using Micro Kristal Klear to fill in those side windows. Nope. The space was too big. I had to cut out clear pieces of plastic and install that. 

Taking a deep breath, I weathered the bottom of the craft. Having already glossed the top I finished the model by adding the decals. 

Despite the problems, the model turns out to be a nice "2 foot model". It looks good from 2 feet away. Will it win any awards? No. But it looks nice next to my other single seater space vehicles. Thanks for looking.


Friday, August 12, 2016

Another look at my Hobby area.

There is an ongoing thread on SSM of guys showing their work areas. They're all good, from those with the tiniest tables to the guys that have whole rooms.  I haven't taken pics of mine since the side shelves when up, so I figured it was time for an update.

The work area - 

Kits, kits and more kits. Despite my age and the number of kits I have, I plan on doing every last one of them. 


This last pic also shows my home made photo booth. There are also more kits under my work table, and a few smaller boxes on the desk shelves to the left.
Eventually (when Lowes gets them in stock) there will be a counter top across the two cabinets (giving me more space). 

Finally, a shot of some of my completed, partially completed, and soon to be started models.  Thanks for looking.