
Looking toward the cockpit section, again each variation had different features. I "think" I'm still close to the example I'm using.
here the pilot is in his seat. There was a wide variation of what they wore - from a flame proof suit, to the orange "suit". I found a few with the pilot wearing a sort of light colored olive, that's the one I chose. In the pic it also looks like he was wearing regular brown leather work gloves. So I added that even tho the color makes it looks like he's got bare hands. Between his knees you can barely make out the yellow and black of the ejector seat ring. There was a few images where there was foot pedals - so with some bent wire, I included them.

One oops is that I added glue to the 4 stubs where the engine attaches to the ring. As I pushed the engine into place the glue stuck before I got the whole thing in. The engine is supposed to be below that top frame work. Oh well.

The last step, was creating a little base for it. I took a square piece of foam, and covered the top with Free Form Air clay. This product is super light weight, and air dries in a few hours. It is sticky, but somehow is less so when you use a little at a time. Adding water really lets you smooth things out. A cut some balsa sheet to act as a frame.

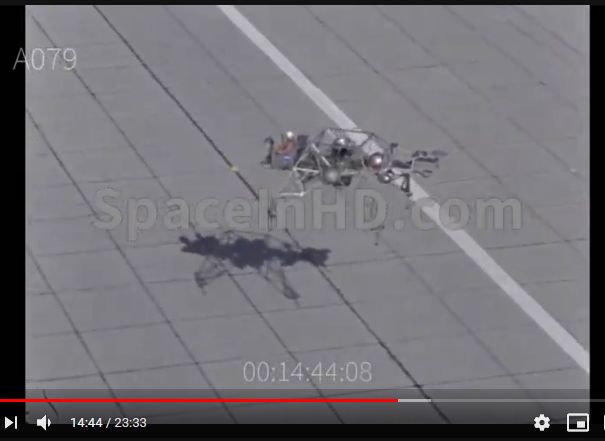
Once dry, I sanded it as smooth as possible and then I found a VIDEO of a flight from Edwards, and it shows a regular gray concrete with some black "tar" lining some of the sections. There was also white lines and dots painted on the concrete. I tried to mimic this.


So with that, I was done. Thanks for looking.


No comments:
Post a Comment