Resintopia was just a few weekends ago and what a show it was. It was quite a bit smaller than JerseyFest, and IMHO it wasn't really worth the $25/pp entry fee. I know they had "big" names in attendance, but...
Anyway, I forgot to look at the talk/demo page of the website to see what was going on, so I missed out on that. The model contest was also lacking in entries. So, in the end it just ending up being a "kit buying" day for me. :-)
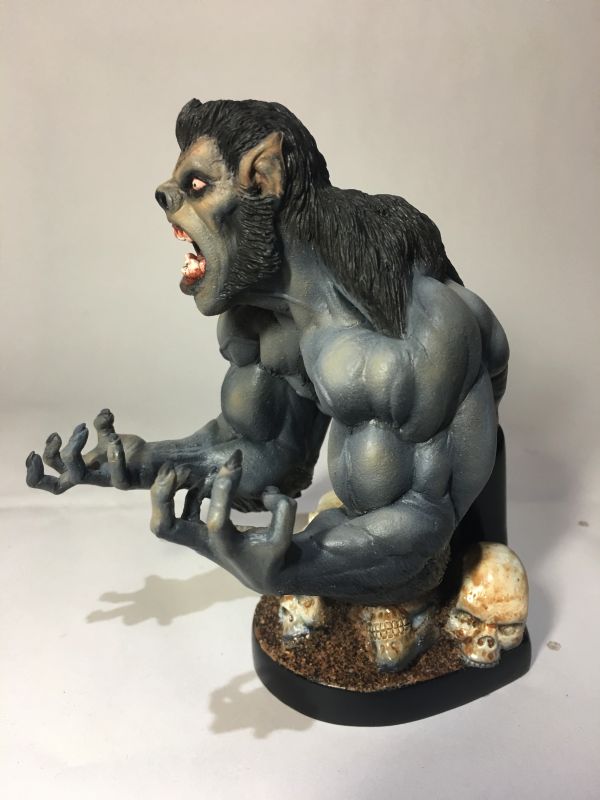
What I normally like to do is make a lap or two around the room to see what's what. With the room being pretty small, that didn't take long. Two kits caught my eye from Monz Designs. The first was an alien bust called Hammerhead. He was quite a unique design in probably 1/3 - 1/4 scale. The other was the Frog Warrior.
The Hammered head was nicely done in one piece of white resin w/o and hints of flash or bubbles. The finished painted Frog image isn't mine, but garnered from the web. It as a kit were a bit different than Hammerhead. There was thin flash nearly everywhere, and the was a bubble on two of his toes -
One cool aspect was that the base has been cast in a semi-clear glow in the dark resin. Having it under a light for a few minutes it glows VERY strongly. Cool! But then I noticed something wrong about the imprints of where the frog's feet go. Despite the frog having 4 toes on each foot, one imprint has 4 toes while the other has 3! I lined the frog's legs on the base and found out that one toe hangs off the edge. Why would you make a base where the is a little extra room in the front and back and then hang part of the foot off the edge? So I'm probably going to skip the glow in the dark base and create another that fits the figure correctly.
Then I saw his mouth. There's a little part missing. Don't know what happened there. But having been in the hobby since the mid 90's, I remember many of the old kits back then needing a little TLC so I got pretty good at repairs.
Upper image shows the missing part and then below with a little help of Aves Apoxie Sculpt, is repaired. A few slits with an xacto blade and I pressed some very coarse sandpaper into the drying epoxy putty and that mimicked the texture pretty well.
The rest of the tour and purchases later...
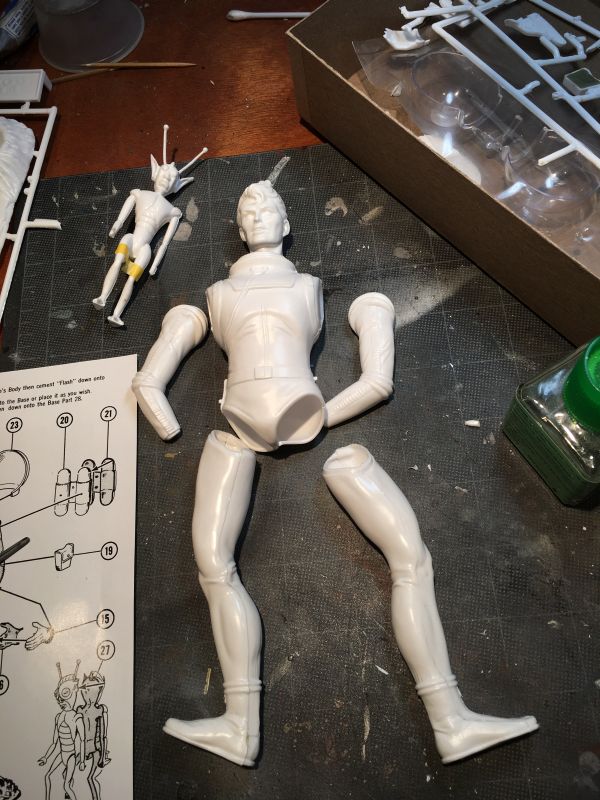
(Also I'll be back to work on the X-19 soon. )


.JPG)


