
The X-15 rocket-powered spaceplane was arguably the most important -- and famous -- X-plane of the Cold War Era. Prior to the X-15 program's abrupt cancellation in 1968, the Air Force was drafting ambitious plans for the aircraft, including a "next generation" X-15-D that would test the limits of hypersonic flight (Mach 5+) using an exotic new hydrogen-fueled scramjet engine.Fantastic Plastic retired the kit in 2015, but you never know. They will bring kits out of retirement for a limited time, often. So if you want one keep your eyes open and on their site.
Unfortunately, the X-15-D never made it past the drawing board. Had the program been allowed to continue, the X-15-D would have no doubt added further luster to the X-15's sterling legacy.

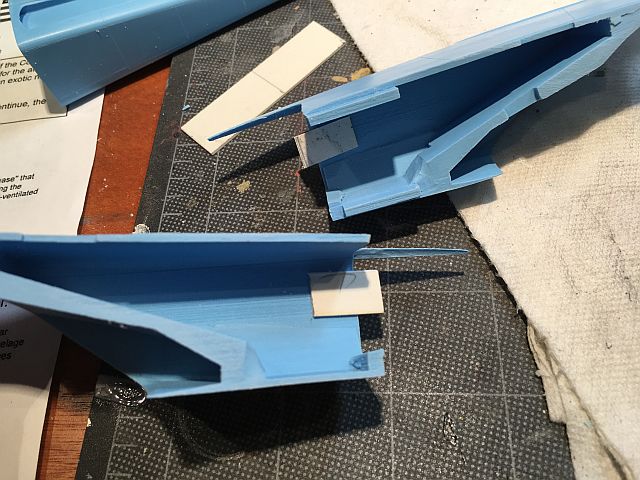


The cannards and the folded part of the wings went on next. I filled a few gaps, as I went so hopefully when I prime, I won't have much clean up to do.
Next I built the landing gear and rear skids. The front strut cleaned up nicely and then I added the two wheels. The back skids were one piece each and was a little rougher. Then on the instructions I read that if the post of the skids were made from metal tubing, it would be stronger. So that's what I did. While I was at it, I took some more styrene and created new skids. The posts were clipped metal paper clips. You can see those new parts to the left of the plane -

The next thing I'm thinking about is the windows. The kit gives decals to cover the ovals that are the windows. They look nice, but I am considering dremelling out the ovals and when finished add the Kristal Klear to make the windows more glass like.

Another angle. More coming up, thanks for looking.
No comments:
Post a Comment